
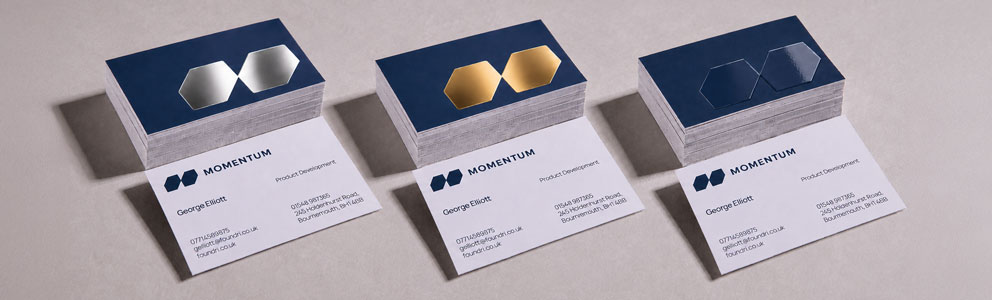
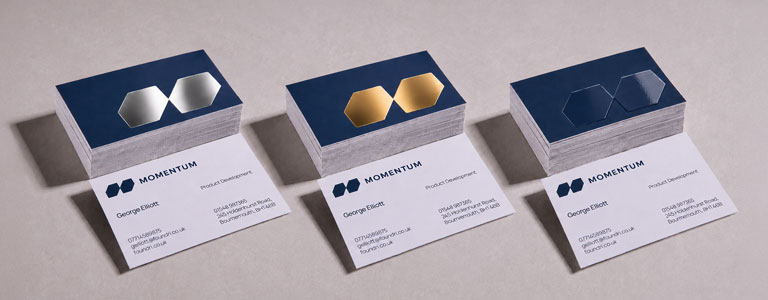
Spot UV and Foil Artwork Guide
Spot UV and foil are premium finishes applied after printing. They need a separate artwork layer to show exactly where the finish should appear.
1. Artwork Requirements
Follow these rules when creating Spot UV or foil artwork:
• Use vector artwork only. Do not use JPEGs or other pixel-based images.
• Set text at 8pt or larger. Avoid very thin fonts.
• Use lines and strokes at least 1pt thick.
• Keep Spot UV coverage below 25% of the page area.
• Use solid colours only for the finishing layer. Do not use gradients, transparency or effects.
2. Create Your Artwork
Main Print Artwork:
Create your main CMYK design as normal.
• Spot UV: Artwork may sit underneath the UV area.
• Foil: Remove printed elements directly underneath the foil area. You may retain the background colour or design. This helps prevent coloured edges from showing around the foil.
Foil is applied after printing, so it cannot be printed over.
Spot UV or Foil Layer:
Create a separate page or artboard for the finished artwork.
1. Duplicate the main artwork page.
2. Remove all elements that will not receive Spot UV or foil.
3. Change the remaining elements to one solid contrasting colour, such as 100% magenta or 100% black.
4. Ensure the finishing artwork aligns exactly with the main print artwork.
3. Prepare Your PDF
You may upload separate files or one combined PDF. If using a combined PDF, supply pages in this order:
1. Printed front (CMYK).
2. Printed back (CMYK).
3. Spot UV or foil overlay for the front.
4. Spot UV or foil overlay for the back, where applicable.
If you upload separate files, upload them in the same order.
4. Check Your Proof
After uploading, select Generate Proof.
The proof displays the Spot UV or foil area in magenta. This is a visual guide only; it will print as clear gloss or foil.
Use the rotate and 2D/3D view controls to check that the magenta overlay is correctly positioned on each side.
For the Most Accurate Proof:
1. Download the PDF proof from the left-hand side of the proof page.
2. Open it in Adobe Acrobat Reader or Acrobat Pro, rather than a browser preview.
3. Use Output Preview to turn the spot layer on and off.
If the online mock-up and downloaded PDF appear different, use the downloaded PDF as the final reference.
5. If Your Proof Is Not Right
Select My proof is wrong at the bottom of the proof page, then choose the option that best matches your issue:
1. White lines or preview-quality issues - Download the PDF proof. These artefacts are less likely to appear in the PDF.
2. Expert artwork review - Approve the proof and request a Studio Artworker review before print. We will contact you within two hours if changes are needed. If your artwork is ready to print, you will not receive a message; check your order status in your account.
3. Speak to an agent - Open web chat to speak to the Client Services team.
4. Request a manual proof - Add a detailed note explaining the issue, then select Request Manual Proof. A Studio Team member will email your proof within approximately two hours.
If you upload separate files, upload them in the same order.