
Uploading Artwork Online
Our online proofing tool lets you upload artwork, review automated checks and approve your file before it goes to print. This guide explains each step, from uploading your artwork to checking and approving your proof.
1. Place Your Order
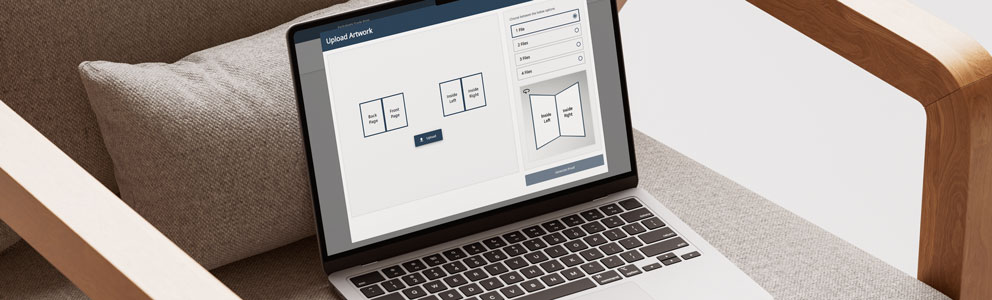
Once your order has been placed, select Upload Artwork.
2. Choose an Upload Option
Select the number of files you want to upload. The screen will show instructions for the option you choose.
For example:
• 1 file: Upload one combined PDF.
• 2 files: Upload separate PDFs for the front and back.
3. Upload Your Artwork
Select Upload and choose your file, or drag and drop it into the upload area.
4. Generate Your Proof
Wait for the upload to reach 100%.
You will then be taken to Check Your Proofs, or you can select Generate Proof.
5. If Your Proof Is Not Right
Warnings appear on the right-hand side of the proofing screen. Select each information icon to view the details.
The system may check for:
• Colour: Colours have been converted to CMYK and may appear slightly different when printed.
• Resolution: Low-resolution images may print blurry or pixelated. Use 300dpi artwork where possible. Low-resolution files may qualify for AI image enhancement; see our blog for more information.
• Thin elements: Lines or text below 0.25mm may not print clearly. Increase their size or weight where possible.
• Font size: Text below 4pt may be difficult to read.
• Embedded fonts: Fonts that are not embedded may change unexpectedly. Embed or outline fonts, or flatten the PDF before uploading.
6. Check Your Proof
Your proof appears as a thumbnail in the centre of the screen. The controls on the left allow you to:
• Switch between 2D and 3D views.
• Rotate the proof or page layout.
• Download the proof PDF.
• Rearrange page order on four-page proofs by dragging pages into position.
Always download and check the PDF proof outside your browser. This provides the most reliable view of how your artwork will print.
7. Choose What to Do Next
Choose one of the following options:
• Back to Upload: Return to the upload screen and replace your artwork.
• My Proof Is Wrong: Select this if there is a problem with the downloaded proof. You can choose from troubleshooting options or select My Proof Isn’t Quite Right to request a manual proof. Add a clear note for the Studio Team; there is no need to email the file separately.
• Approve and Send for Final Check: Select this when you are happy with the proof. Your artwork will receive a final Studio check before being sent to print.
8. Production and Delivery
If Studio does not need to contact you, your job will move into production. Tracking details will be sent once your order has been completed.
Understanding Your Downloaded Proof
The downloaded proof shows your artwork at the trim line, so you can check how it will appear once printed and finished.
You may see the following guides:
• Outer blue dashed line with scissors: Trim line. Artwork close to this line may be trimmed.
• Inner red dashed line: Safety area. Keep important text, logos and images inside this line.
• Blue dashed lines on folded products: Fold positions.
• Red text on a blank page: Your order requires more pages than supplied. Blank pages have been added to complete the document.
• Blue text: Page labels, such as front, back, inside front and inside back.
These guides are for proofing only and will not print.